

In this article, we will take a closer look and compare how different WordPress-based dynamic content plugins fare against one another. But first, what is a dynamic content plugin?
The easiest way to explain it would be to talk about website builders.
Whereas website builders let you build new layouts that are static by default, a dynamic content plugin enables you to build layouts and enrich those layouts with real-time content. In other words, dynamic content enables you to adjust page layout based on user behavior.
Furthermore, with dynamic content, you can tailor user experiences specific to your business or a problem you’re trying to solve. This includes the ability to build forms and onboarding experiences that change in real time based on the information that the user has provided.
No coding skills? No problem.
So, one of the main draws for dynamic content plugins is the fact that they provide enormous flexibility in building websites and layouts without any prior knowledge of programming.
For example, if you wanted to build a gym membership website – one of your alternatives would be to purchase a WordPress theme specific to that use case. However, you’re then going to have to deal with severe limitations in terms of features, but also compatibility issues down the road.
The same logic applies to building entirely new designs. With a dynamic content plugin, you can build an entirely new layout structure and then keep it dynamically updated. This brings me to my last point, working with custom post types and custom fields.
How does a dynamic content plugin work?
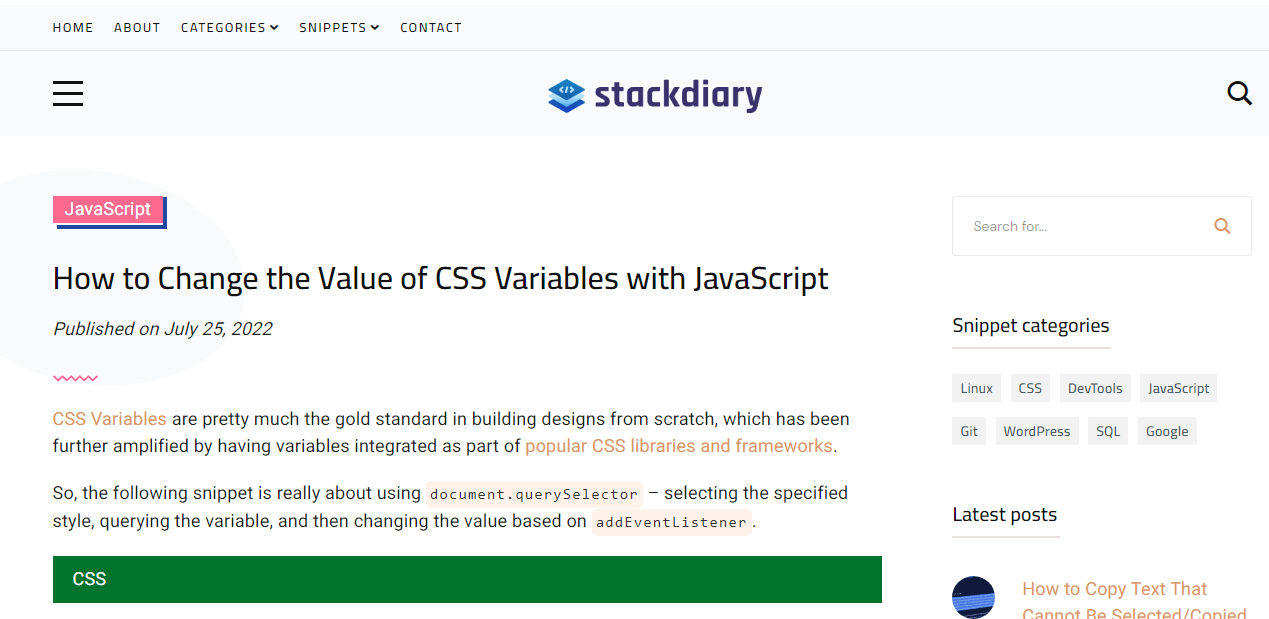
As a part of my strategy for this specific blog, I knew I wanted to implement a “snippets” directory that would be separate from the main articles. In other words, I wanted something separate from the blog but still a part of the website/project itself.
In this context, a snippets directory is a place where I can share programming-related snippets and tutorials without needing to treat the specific post as an article. So, I can skip things like adding images and simply focus on providing the exact details on a specific issue or problem.
One of the ways I could have done it (but didn’t!) was through any Custom Post Type plugin. However, the problem with that is that I would then need to redesign the entire structure of my theme so that the Custom Post Type actually works with the theme that I am using. Not to mention, this approach also means that I would be forever “stuck” with that particular layout.
But, thanks to a dynamic content plugin (I use Toolset, but we’ll look at others, too!) – I was able to:
- Create a new Custom Post Type that inherits (overrides) my theme style.
- Create new Taxonomies for categorizing my snippets.
- Implement Custom Fields to create a dynamic experience.
- Structure the final design based on Dynamic Input.
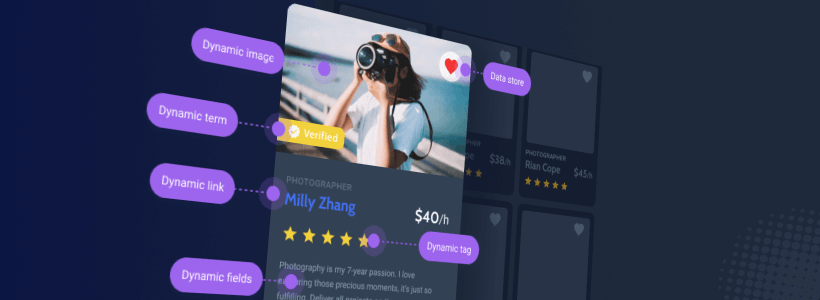
You can check out this snippet to see the design I built for my snippet posts.
The project itself (snippets) is very much a work in progress still, however it is sufficient to give you an example of what you can expect from any of the dynamic content plugins mentioned in this article.
You can scroll back to the top of this article and compare the differences. The main thing to understand in this example is that all of the content/fields/widgets you see above have been generated dynamically, without writing any code or touching my theme template files.
If I like, I am able to dynamically add new elements to these pages (such as who was the author), or remove specific elements – such as the social sharing buttons. I can also apply custom classes to each dynamic element (such as the category) and then style it myself (as I have already done).
So, which plugins will we talk about in this article?
| Plugin Features | Toolset | JetEngine | ACF | Meta Box | Pods |
|---|---|---|---|---|---|
| Free version | No | No | Yes | Yes | Yes |
| Custom Post Type | Yes | Yes | Yes | Yes | Yes |
| Dynamic Content Display | Yes | Yes | Pro only | Limited | Limited |
| Front-end Forms | Yes | Yes | Pro only | Yes | Yes |
| Template Builder | Yes | Yes | No | No | Yes |
I’ll focus mostly on the aforementioned features, emphasizing how “easy” it is to work with the said plugin from a UI perspective.
Having said that, I think it’s about time we start talking about the plugins themselves.
#1 – Toolset
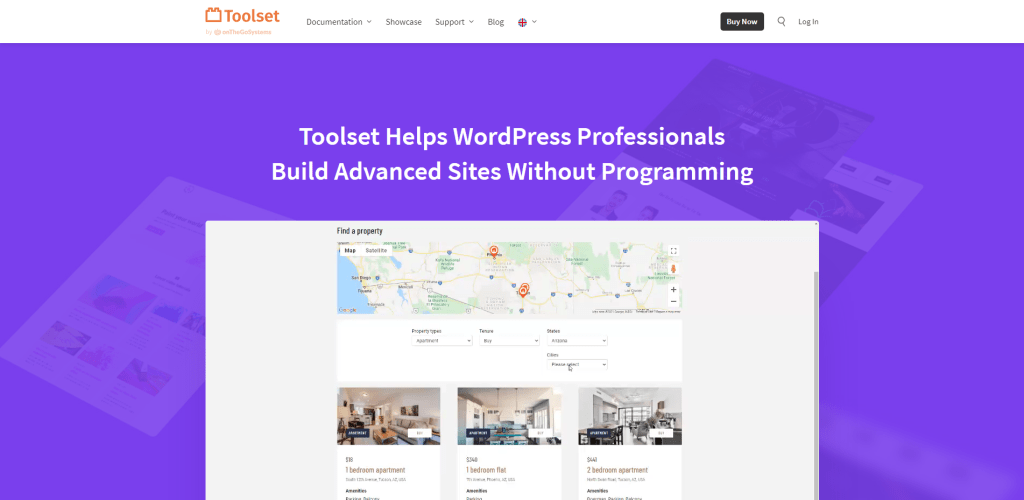
Toolset dubs itself as an “advanced custom website builder with dynamic functionality”. And after having used the plugin for a few months now, I can say it lives up to its name. While my current use case is relatively small-scale, the plugin is among the best in providing features that can not only help you design a custom website but also structure it dynamically.
The most important feature for me personally was the ability to create new custom post types, and then design pages for those posts without having to change anything in my theme. And I feel that is an area in which Toolset excels the most. The way this works in Toolset is that you will design your pages/posts using a Content Templates system.
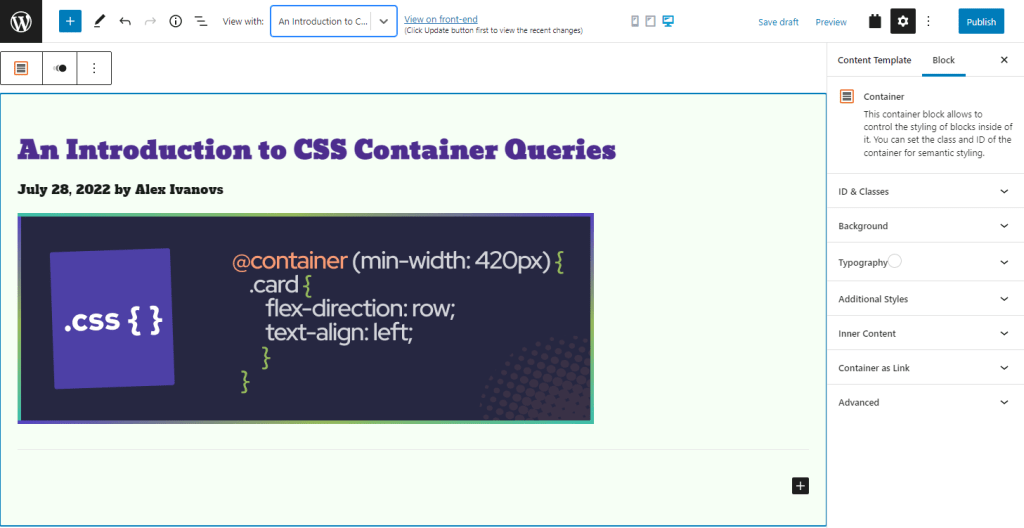
Creating a mockup (new template for a custom post type) like this takes roughly 30 seconds.
Everything you see in the above screenshot is generated using dynamic settings. In other words, you can build an entirely new template for your pages/posts without having to write a single line of code. And on the sidebar, you can also see some of the customization options.
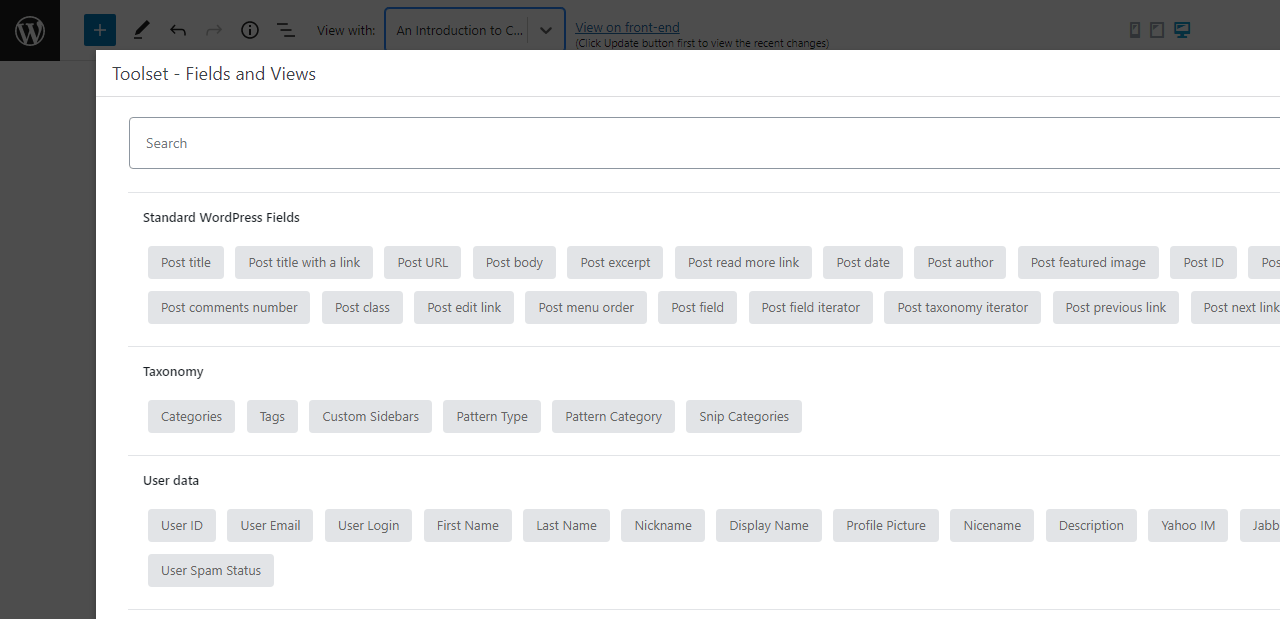
If you, for example, use the Fields and Views feature – you can select from a vast array of in-built WordPress fields, then apply them to your new template. And as long as you have enabled custom fields, you can also apply those in each template as necessary.
Now, admittedly, the plugin can do a lot more than what you see above. In fact, Toolset has an entire library of courses that specialize in explaining their features in-depth.
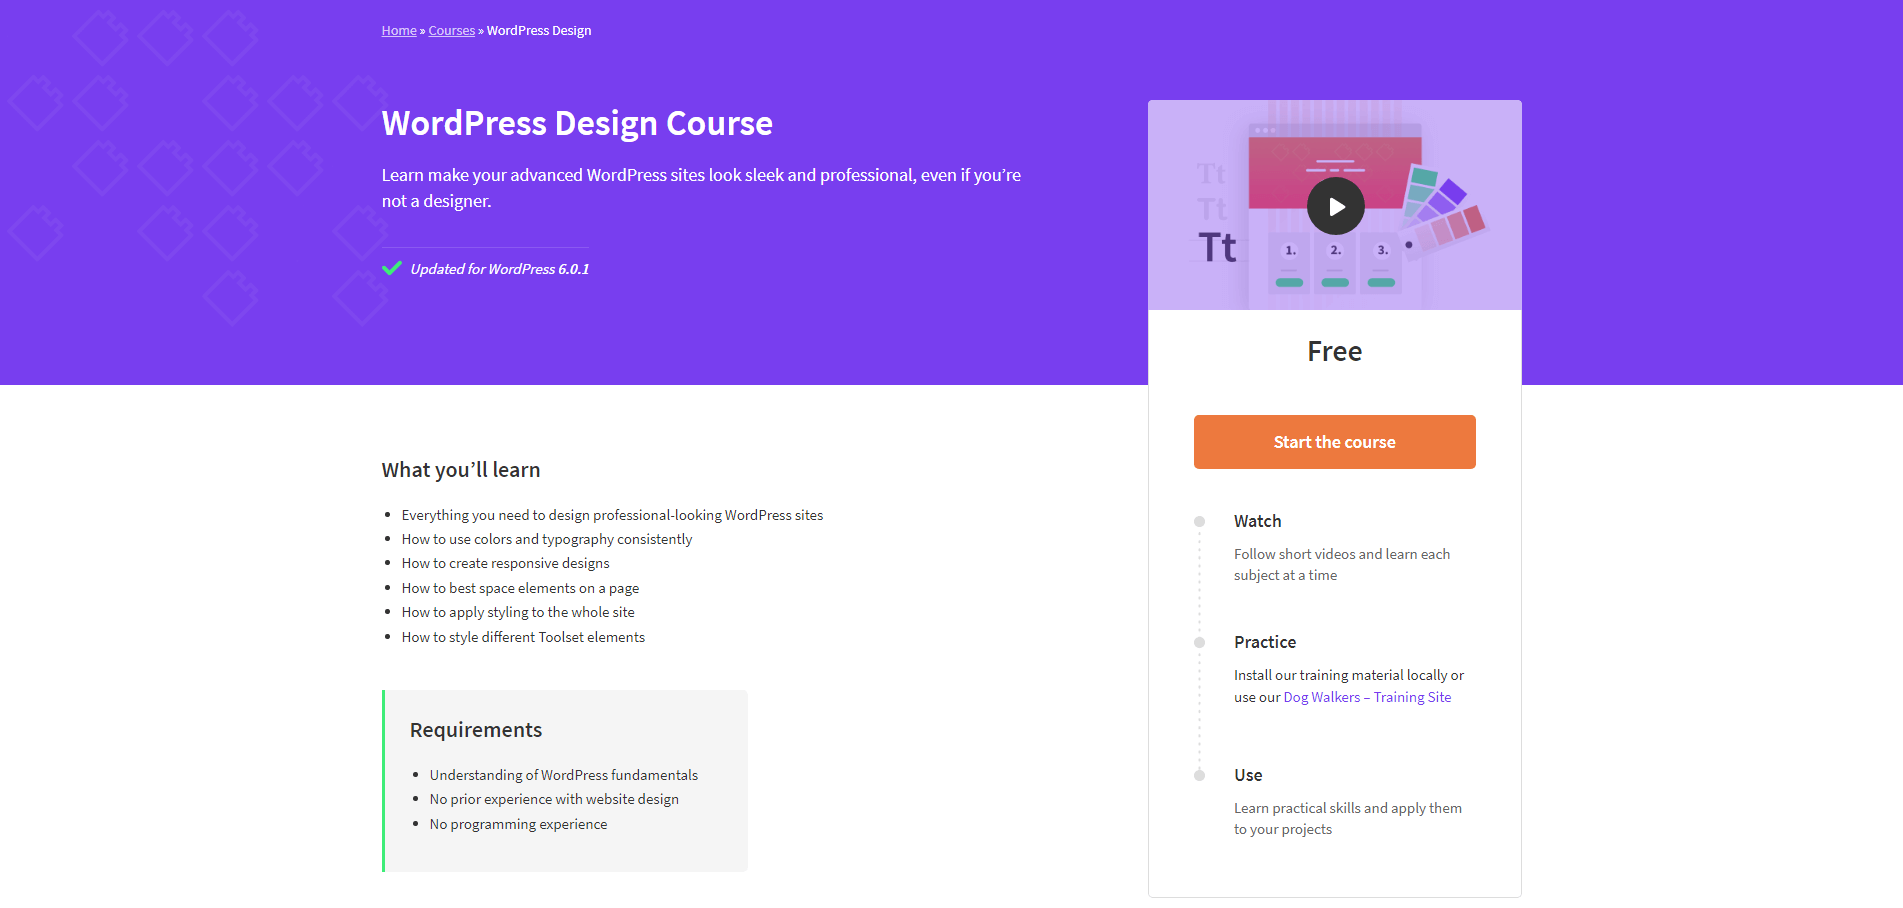
And they also have a separate Showcase section, which you can browse to explore sites built with Toolset. Many of which are certainly much more complex than what I personally use the plugin for.
Lastly, I will say that their support system is up there with some of the best. Because the plugin has existed for more than a decade now, its community forum is packed with useful information, helpful tips, and answers to problems that you may encounter along the way.
Pricing: For a single-site license, Toolset will set you back $69 per year. Should you wish to cancel your subscription – you’ll still be able to use it past the 12-month mark, but without any updates or access to the community support forums.
#2 – JetEngine
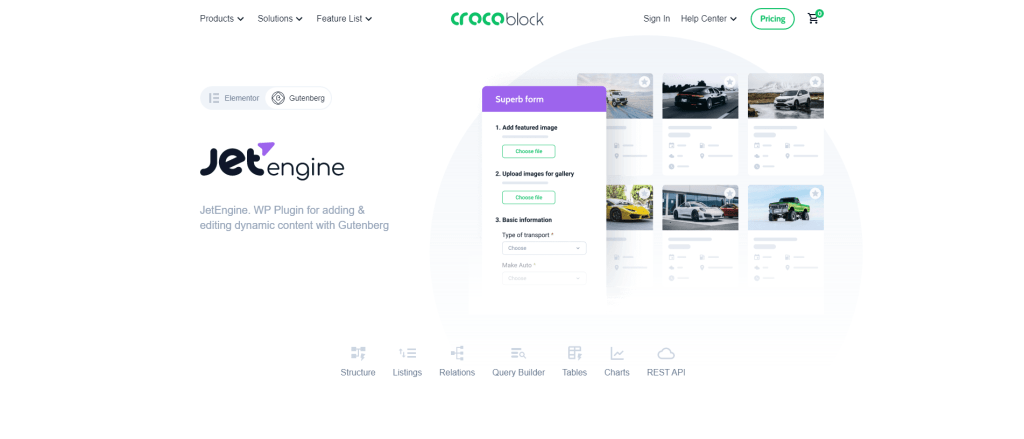
First and foremost, both JetEngine and Toolset can achieve practically the same outcomes as far as building dynamic sites go. In fact, both plugins share a number of similarities as far as UI goes for building the actual dynamic content templates.
So, as a form of comparison – I’d like to talk about the unique features that JetEngine provides, and how those features might be more suitable for the scope of the project that you wish to build or design with such a plugin. Let’s start with the Modules approach that JetEngine implements.
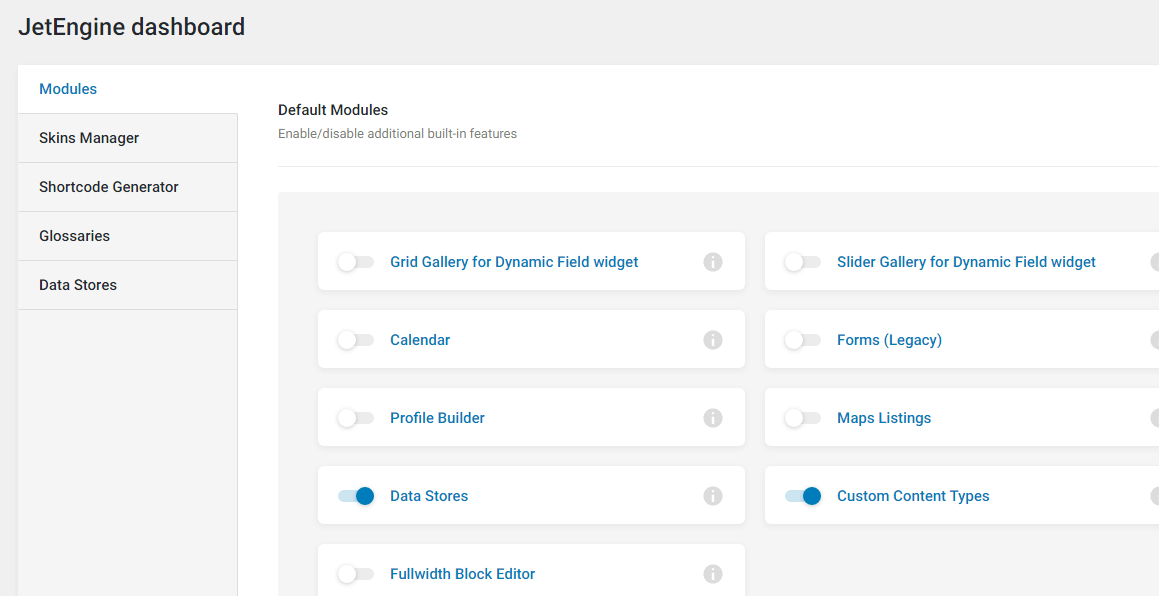
The modular approach lets you enable or disable specific features, narrowing down the exact functionality required for your project. This dashboard also includes the option to enable several external modules, such as the dynamic tables and charts builder. The two modules that stood out to me personally were Custom Content Types and Rest API Listings. Let’s talk about those.
Custom Content Type vs Custom Post Type
By default, if you create a new custom post type – the data of that post type will be stored in the same database table (posts) that all your other content is. And while this won’t be noticeable on smaller projects, if your project grows into hundreds if not thousands of post entries – there’s going to be a significant strain on fetching the exact post (custom or not) from the same database table.
With JetEngine, you can create a Custom Content Type, and by doing so – JetEngine will create an entirely new database table for it and store its data (post content) there. Best of all, you can then take your content type and assign it to a post type also, including custom ones.
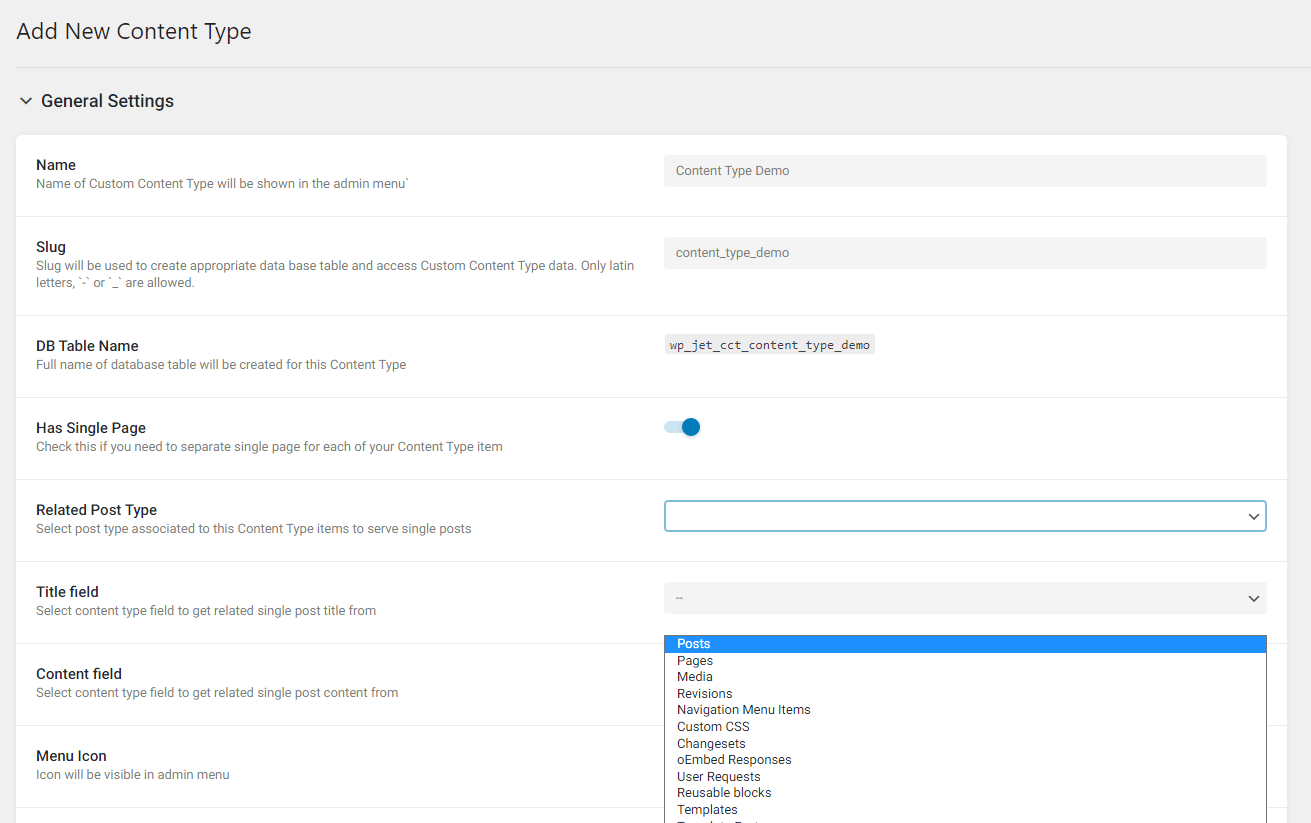
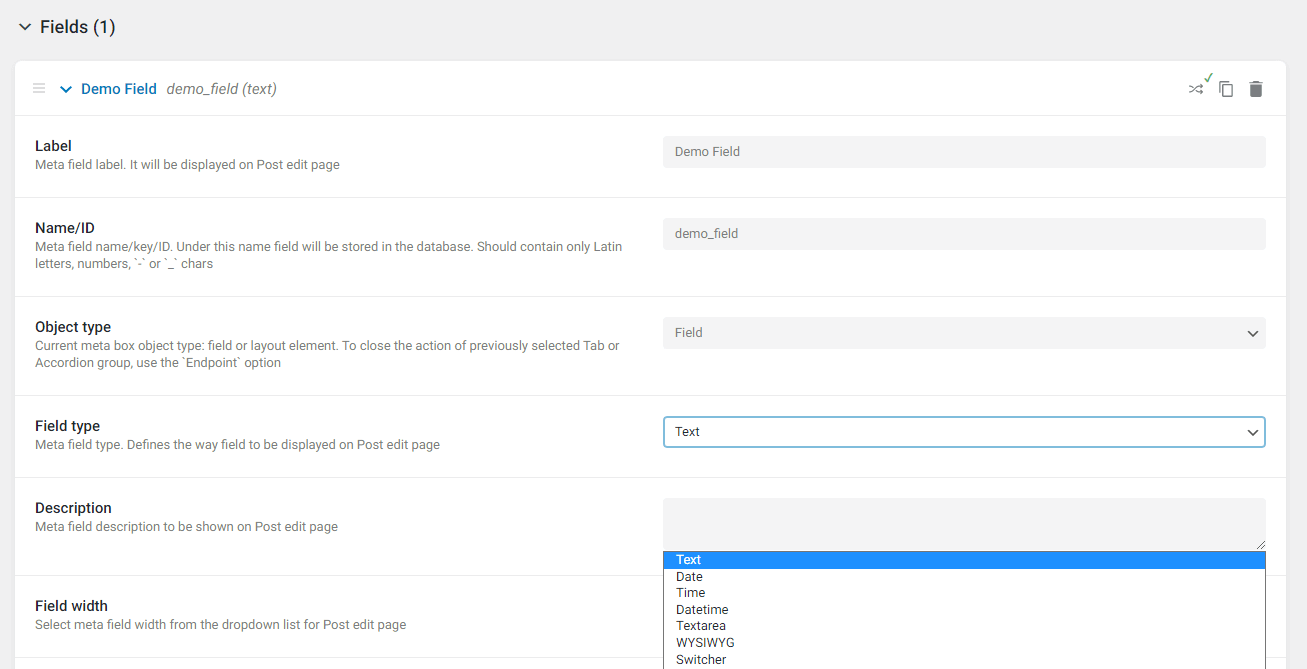
As you add your new Content Type – you’re also able to specify custom fields that will then be specific to that content type only. This is a really nice feature because it will help you keep your entire website neatly organized, and prevent the risk of accidentally deleting the wrong data.
But the feature that I really want to talk about in JetEngine is their Rest API Listings.
Showing Internal & External Content with Rest API
Whenever you create a new content type with JetEngine, you can also register that specific type as an individual API. This means you can then use the in-built Listings feature to dynamically display data from that API, which also works for external APIs.
What’s an API?
API stands for Application Programming Interface. An API establishes a connection between programs so they can transfer data. A program with an API implies that some parts of its data are exposed for the client to use. The client could be the frontend of the same program or an external program. // freeCodeCamp
For example, I have created a new REST API Endpoint using the {JSON} Placeholder API.

Once you have added your Endpoint, you can now go to JetEngine -> Listings in your dashboard to add a new Listing that will serve as the template for displaying the API data.
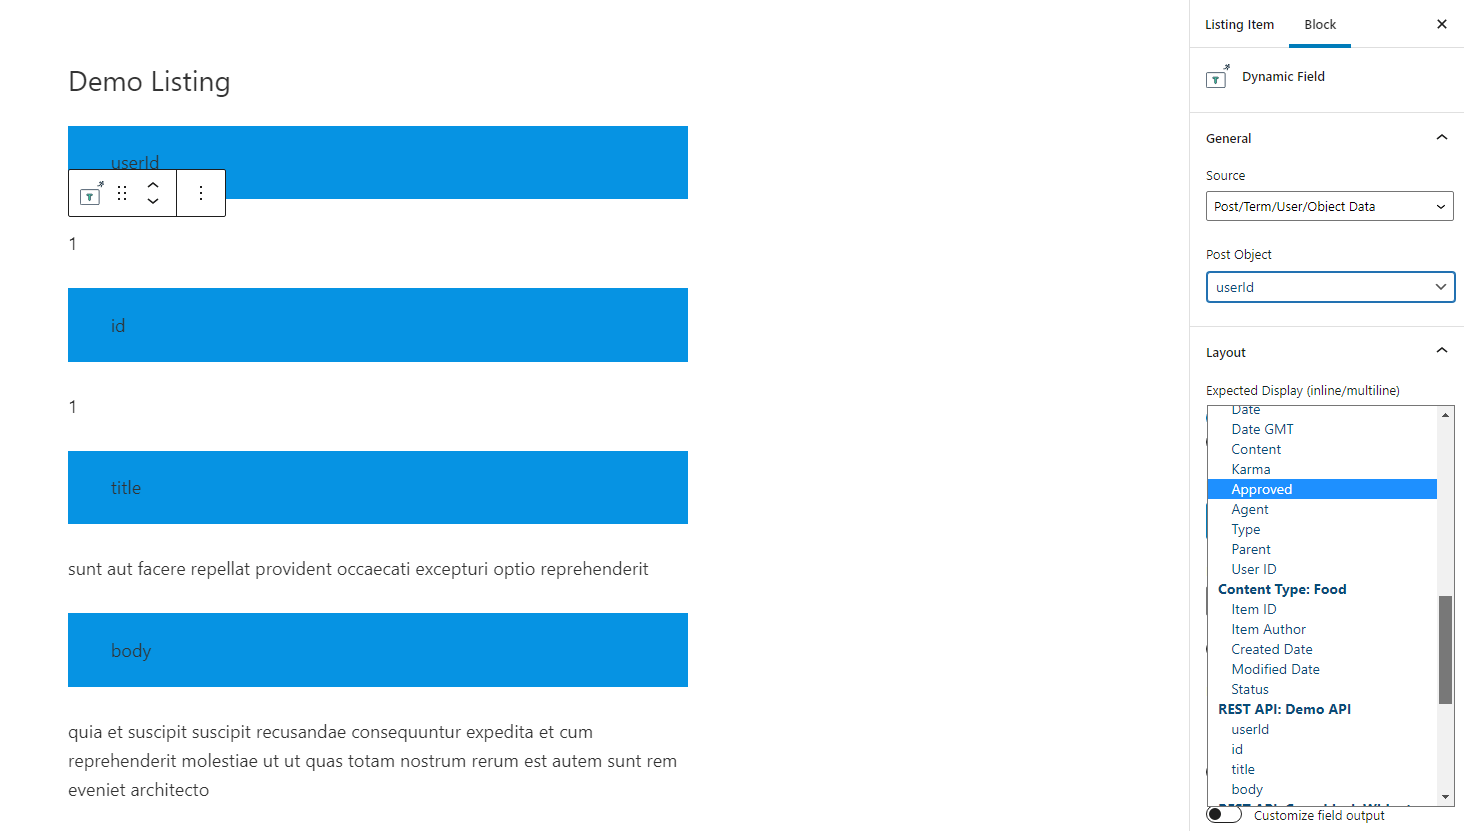
When designing the template for the API data, you’ll be using the Dynamic Field block (for Gutenberg) or the Dynamic Field widget for Elementor. Once added, you can use the block to query the specific Object that you’re after. This also means you can skip certain Objects.
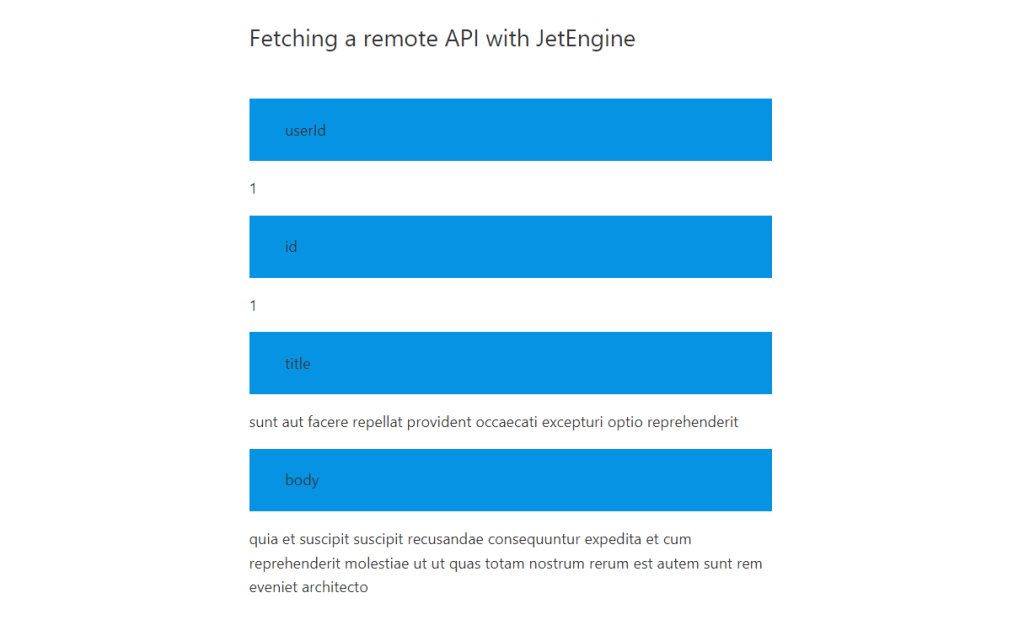
After you’ve created the template for the data you want to fetch (again, this can be internal or external data) – you can save the template. The next step is to display your template, which can be done on any post or page on the site.
And yes, this does mean you can also display this data as part of your whole dynamic content structure.
The way you display the data from the Listing is to use the Listing Grid block (for Gutenberg) or the Listing Grid widget for Elementor. This will then let you specify the listing you want to display, but also give you plenty of options to customize, apply custom queries, and specify a display structure.
And that’s it. Keep in mind that this works with any REST API, so as long as you have the appropriate endpoints, but also the required authorization keys. I have to say that this feature alone is what sets JetEngine apart from other similar solutions, including the ones mentioned in this article.
Last but not least, if you’d like to learn more about JetEngine – check out their official documentation, which includes dozens of tutorials and use cases on what the plugin can do for you. Click here for the Elementor docs, and click here for the Gutenberg docs.
Pricing: A license will cost you $43, including a year’s worth of updates and support. This license covers both Elementor and Gutenberg versions of the plugin.
#3 – Advanced Custom Fields
It goes without saying that the first two solutions we looked at are more like complete suites for building dynamic sites from the ground up. But, chances are your needs might not be as demanding, and you’re happy to use your existing theme and then build some dynamic content on top of it.
In such a case, ACF, as it is commonly known, is one of the easiest plugins to work with. While the plugin doesn’t provide the means to create new post types (there are plugins for it, though) – you get a fully extended interface for adding custom fields.
What are custom fields in WordPress?
A custom field is a form of content (data) that you can publish alongside the main design or template of your blog posts and pages. A custom field can be something as simple as a block of Text that appears when certain conditions are met. It can also be a design element such as a notice or a special offer, which you can then individually style for each page separately.
One of the appeals of ACF is how simple it is to work with it. The dashboard for creating new fields is intuitive by nature and provides plenty of opportunities to customize the new field values to your specific needs. This includes the ability to apply conditional logic for displaying the field data.
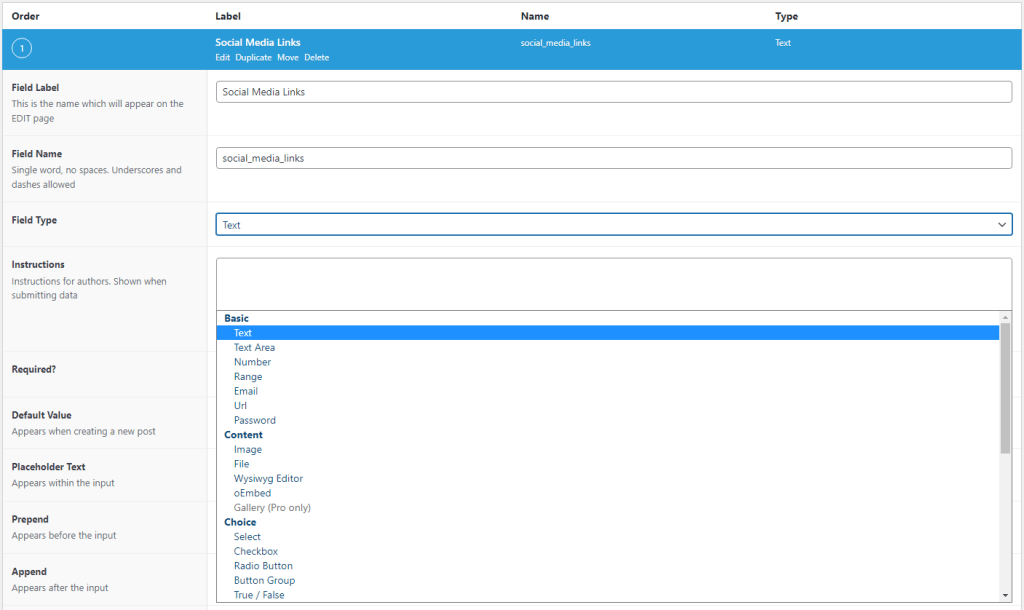
At the core of Advanced Custom Fields is the developer-friendly approach.
Let’s say you have created a new custom field that contains all your social media links. And, your goal is to display this new field on all your single post pages. To do so, you’d need to open your theme’s single.php file, and simply call the custom field using a function.
Like so:
<?php if( get_field('social_media_links') ): ?>
	<div class="social-links"><?php the_field('social_media_links'); ?></div>
<?php endif; ?>
This developer-friendly approach has also led to massive community engagement. At the time of writing this, there are around 200 free WordPress plugins tagged with ACF. And many of them greatly extend the capabilities of ACF and how it can help you build dynamic content templates.
Pricing: ACF has a free version available on WordPress.org, and the Pro version is $49 for a single website license.
#4 – Meta Box
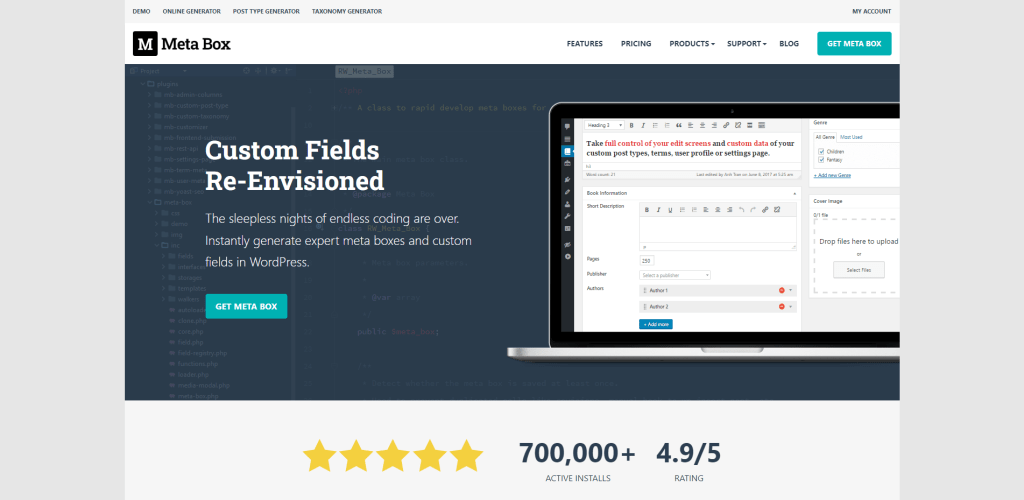
At its core, Meta Box (much like ACF) is a plugin intended for generating custom fields. What’s interesting, though, is that unlike the majority of WordPress plugins – Meta Box lets you build new custom fields from an online generator rather than from your WordPress dashboard.
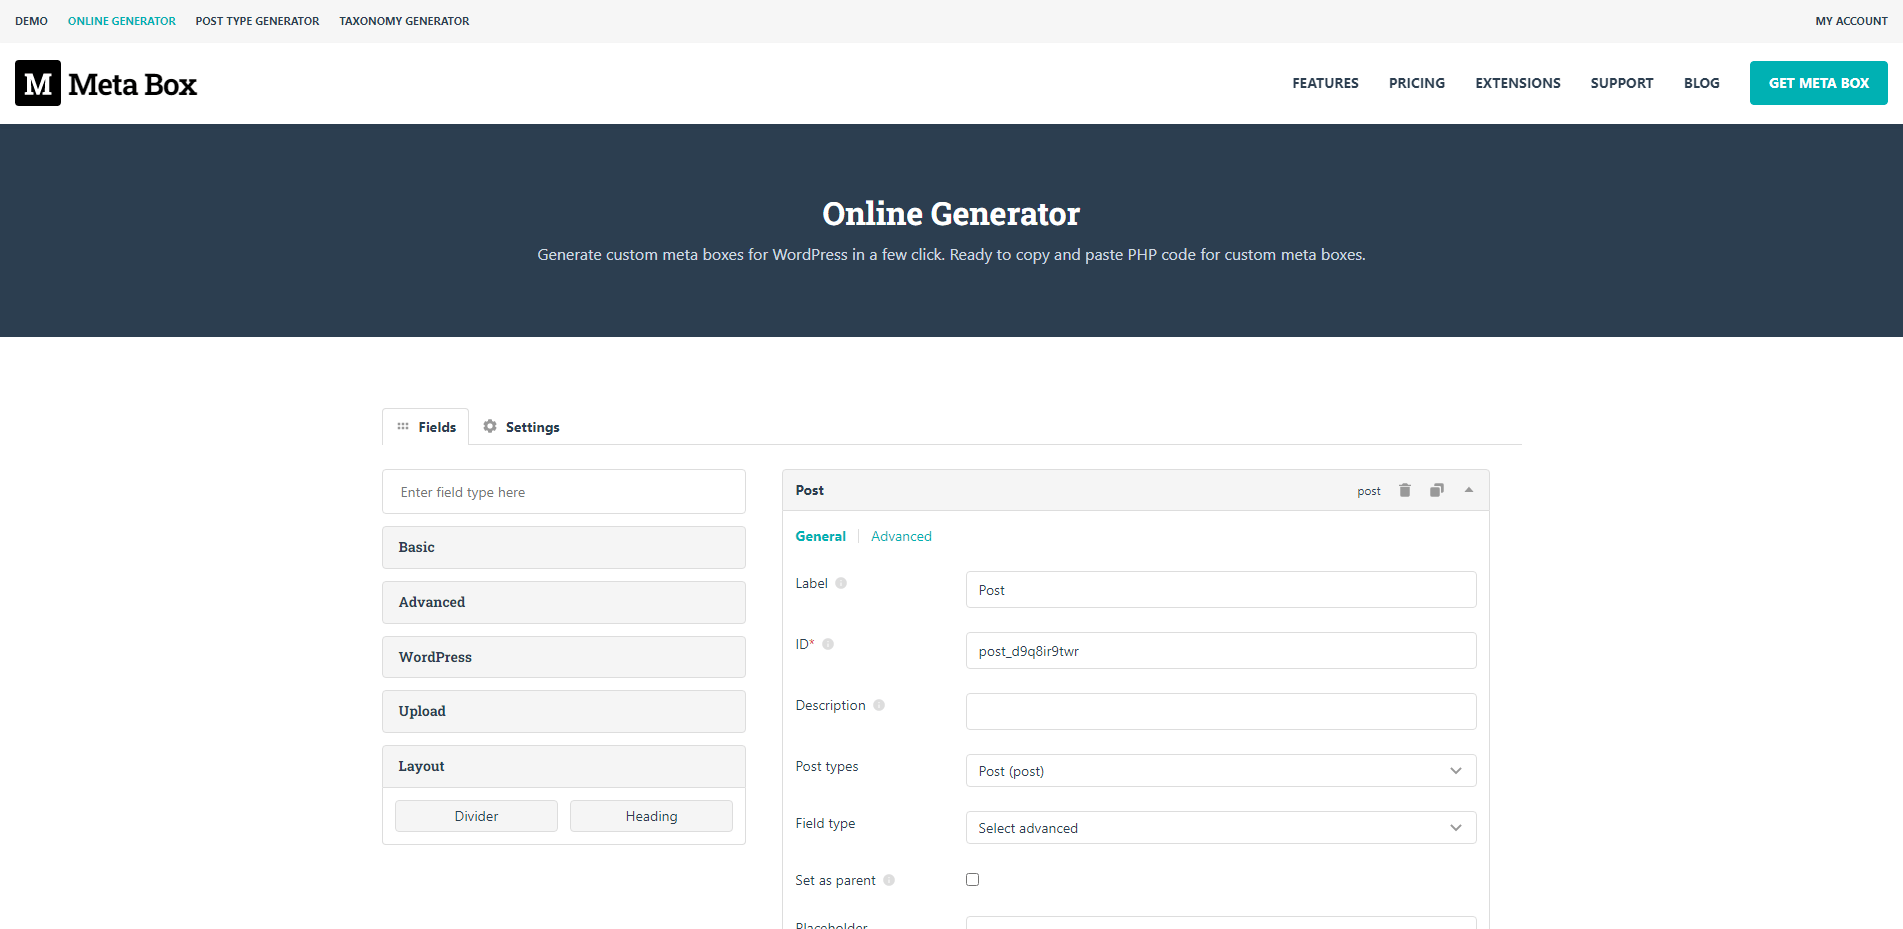
Once you build a new field (or a set of fields) – you can click a button to generate a code snippet that can then be placed in your functions.php file. That’s it. Afterward, go to your post or page, and the new field will be displayed below the content editor.
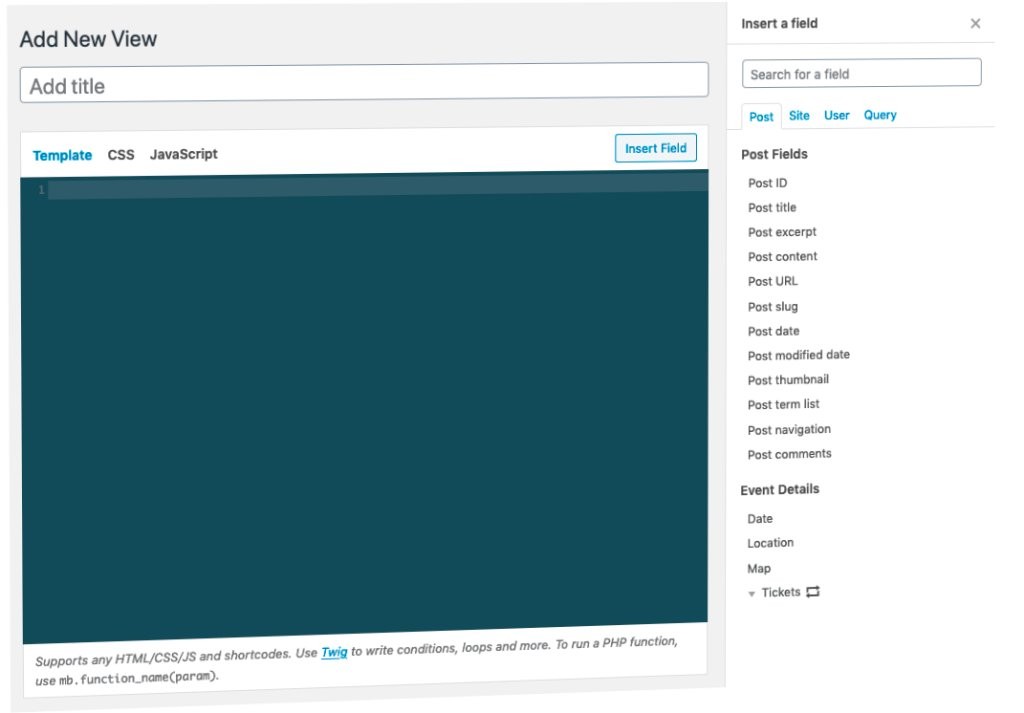
However, since we are on the topic of dynamic content plugins – Meta Box has a feature/addon called MB Views, which, unfortunately, is only available in the Pro version. A View, in this context, is a custom template that can use any of your custom fields to build a complete design.
You can then apply that template to any post, page, or custom post type that you like. It works much like Toolset and JetEngine, and I can also see how the minimalistic interface might appeal to some.
If you also plan to build new post types, Meta Box develops its own plugin for this. The plugin is free, and just like the custom fields, there is an online generator for custom post types.
Pricing: Meta Box is available as a free plugin from WordPress.org, and Pro plans start at $49 to $99 (all features included) for personal needs.
#5 – Pods
Pods provide the ability to create Pods as they’re called, which are both Custom Post Types but also Custom Fields, all bundled into one plugin. Unlike some of the plugins we saw throughout this article, I’d argue Pods isn’t exactly beginner-friendly. In fact, Pods is more like a framework (which can also be implemented as part of theme structure) that requires careful planning in advance.
Having said that, the interface for creating Pods is straightforward. You can still manage things like types, fields, and taxonomies. And on top of that, build relationships between posts and also assign individual templates. But, if, for example, you were to use the Pods Views block – you’d need to have a pre-made template ready to be assigned to that specific pod.
Pros
- Fantastic UI for building types and fields.
- Custom fields can be assigned to Posts and Taxonomies.
- Various Component modules for adding advanced features (including Post Types with a separate database table) and things like Markdown support.
- Has separate modules to integrate with popular website builders.
- Detailed documentation for developers.
Cons
- Not exactly “click and go”. Reading the docs is pretty much mandatory if you want to go from Custom Post Types to Templates.
In conclusion, if you’re a developer and work with WordPress (for yourself or clients), then Pods is a solid choice because it integrates very well with a pre-existing development workflow.
Pricing: Pods also has a free version on WordPress.org, and the Pro plan starts at $79 per year for a single-use license.
Building dynamic content websites with WordPress
WordPress has always had its drawbacks and bottlenecks. But it’s hard to look past the fact that developers have made WordPress into a content powerhouse when combined with the right tools.
Whether you’re looking to start a new website from scratch or have an existing project ongoing, this article should be plenty of evidence that WordPress is capable of handling dynamic content needs.
Last but not least, it would be difficult for me to squeeze all of the angles for these plugins into one singular article (it’s already 3,000 words long at this point).
So, if you feel like you’re still unsure whether a certain plugin can achieve a specific goal you have in mind – I recommend contacting the author of the plugin directly to avoid making the wrong choice.