


In the hustle and bustle of our digital lives, we often find ourselves juggling multiple pieces of information—text, images, or links—shifting them from one place to another with the simple yet powerful commands: cut, copy, and paste.
Despite the frequency with which we use these functions, many of us might not be aware of a hidden gem within Windows 10 and Windows 11: the clipboard history feature. This handy tool stores your recent copies and can significantly streamline your workflow.
Understanding the Windows Clipboard
First, let’s discuss the clipboard. Imagine it as a temporary storage space on your computer, where everything you copy or cut is kept momentarily.
Whether it’s a snippet of text, an image, or a web link, the clipboard holds onto this data until you’re ready to paste it elsewhere. This process is facilitated through the familiar shortcuts: CTRL + X for cut, CTRL + C for copy, and CTRL + V for paste. However, traditionally, this clipboard could only hold one item at a time, replacing the old with the new whenever you copied something else.
Recognizing the limitations of the traditional clipboard, Microsoft introduced an upgrade with Windows 10 (version 1809): clipboard history. This feature changed how we use the clipboard by allowing it to store multiple items.
How to Access Clipboard History
Activating and using clipboard history is a breeze. Here’s how:
On Windows 11:
- Press the Windows key + V together. This is your magic shortcut.
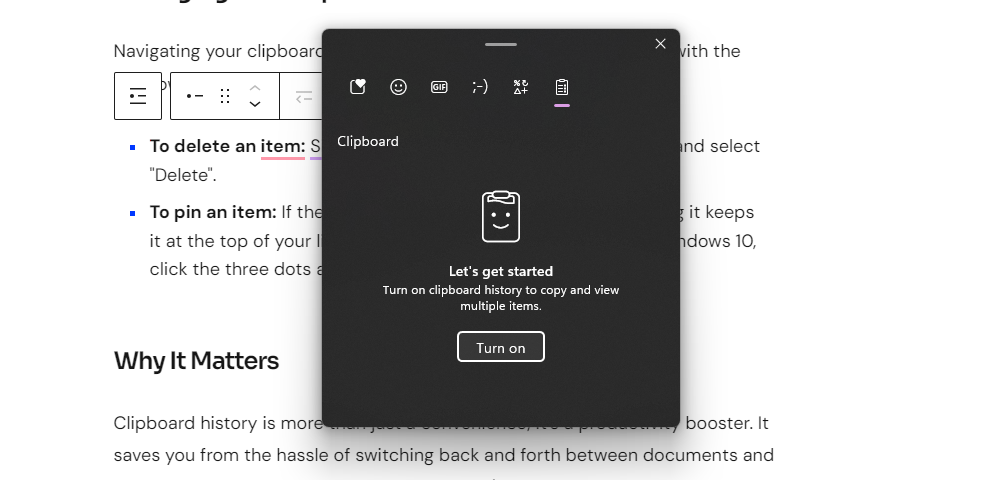
- If this is your first time, you’ll see a prompt to enable clipboard history. Click “Turn on.”
- Voilà! Pressing the key combination now opens your clipboard history, displaying items you’ve copied.
On Windows 10:
- The steps are identical to those for Windows 11. Press the Windows key + V, enable clipboard history if prompted, and then use the same shortcut to view your copied items.
Managing Your Clipboard
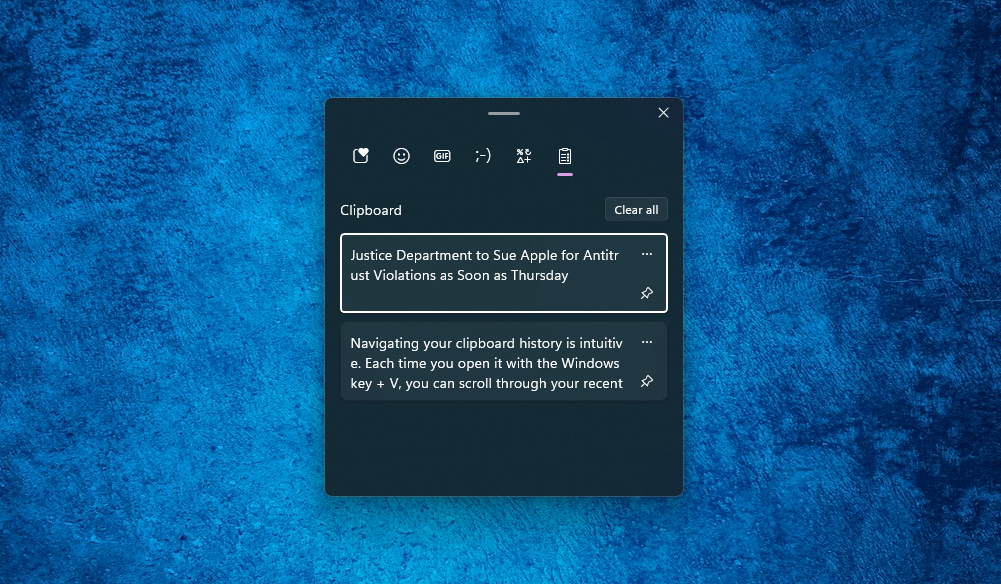
Navigating your clipboard history is intuitive. Each time you open it with the Windows key + V, you can scroll through your recent copies.
- To delete an item: Simply click the three dots beside the item and select “Delete”.
- To pin an item: If there’s something you copy frequently, pinning it keeps it at the top of your list. On Windows 11, click the pin icon; on Windows 10, click the three dots and then “Pin”.
Why It Matters
Clipboard history is more than just a convenience; it’s a productivity booster. It saves you from the hassle of switching back and forth between documents and applications, trying to recopy information you’ve lost.